How to Create Torn Paper Text Effect in Photoshop
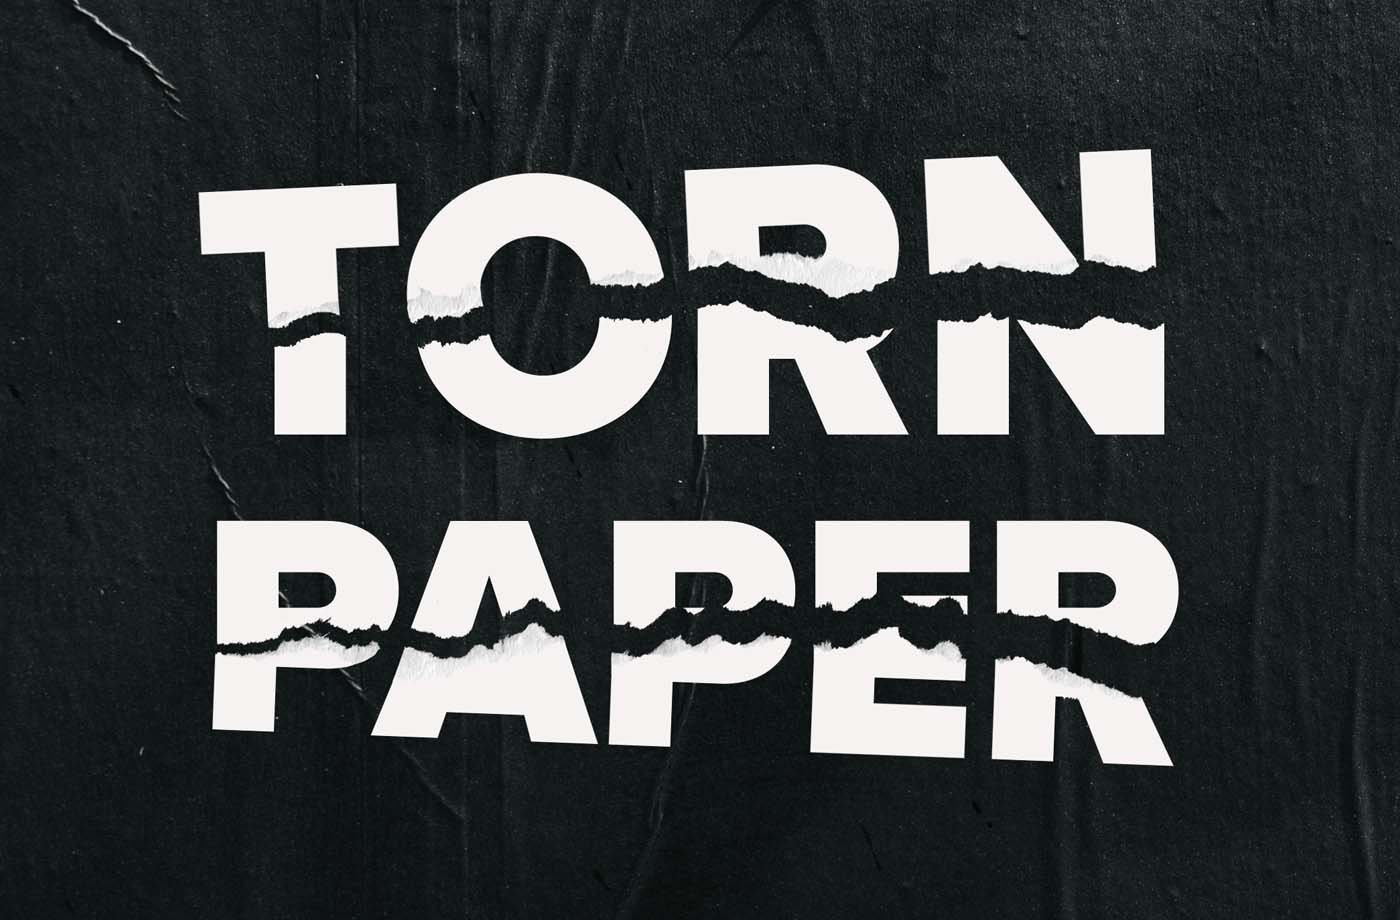
The idea of this tutorial belongs to the wonderful customers of our absolute best-seller of 2020 — Torn Paper Cliparts & Mockups pack. It includes editable torn paper PSD mockups and a number of high-resolution paper rip cliparts to work with. Still, the same question keeps appearing repeatedly: how exactly did we create this realistic torn paper text effect for the presentation shot?
Stick with me for a few easy steps, and I'll show you in detail how to recreate this effect for any text or image in Photoshop.
Step 1.
Start with creating a typography composition with a Type Tool (T). That’s the moment to choose the right font, size, and phrase. We use Proxima Nova Bold font, available with Adobe Creative Cloud membership. Also, you can get the same paper background image available on Unsplash. Here is my initial artwork:
Step 2.
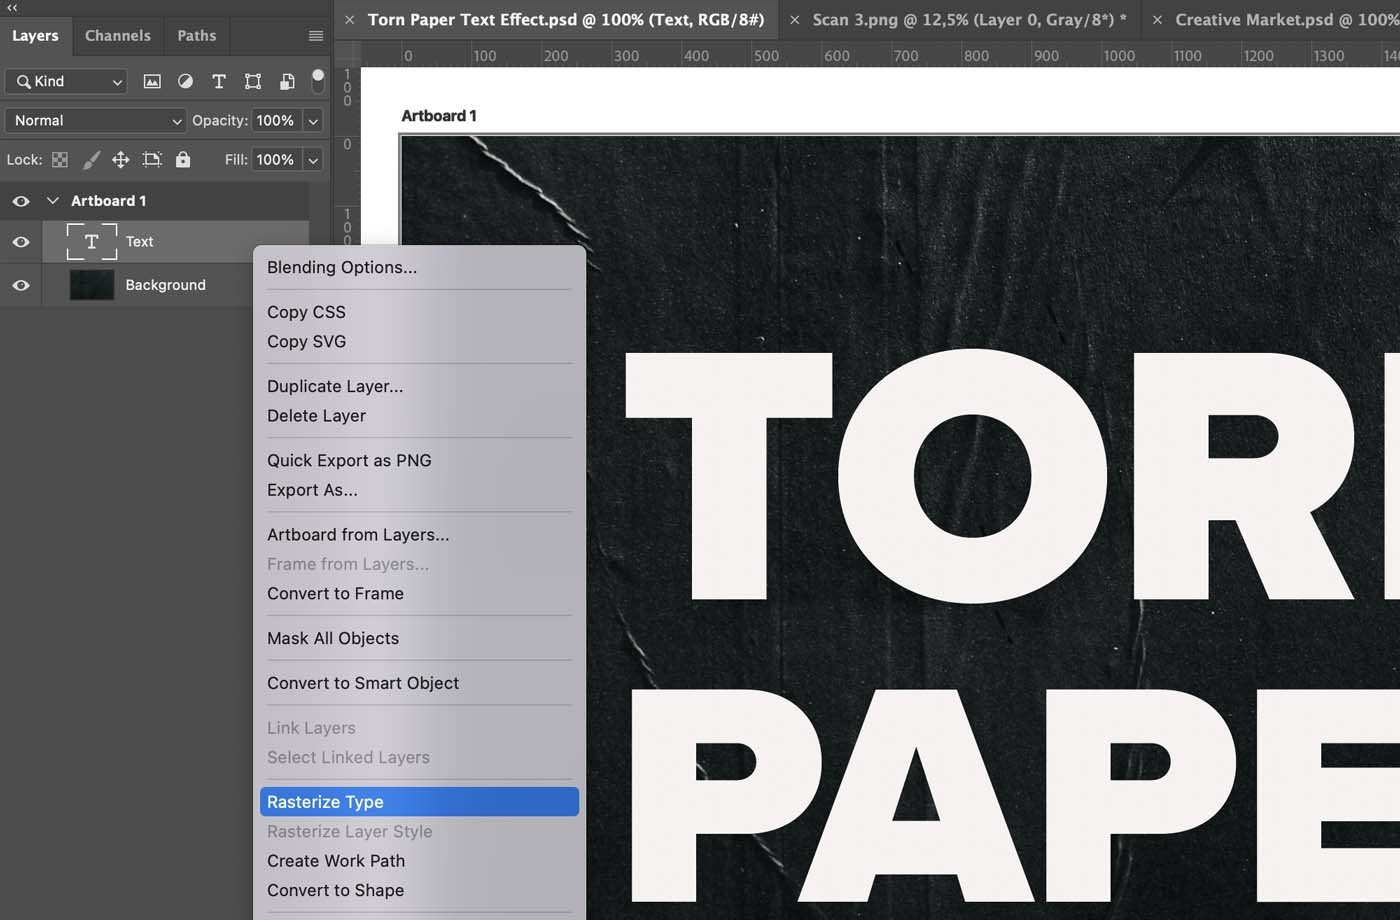
When your title is set, rasterize the type layer for further manipulations.
Step 3.
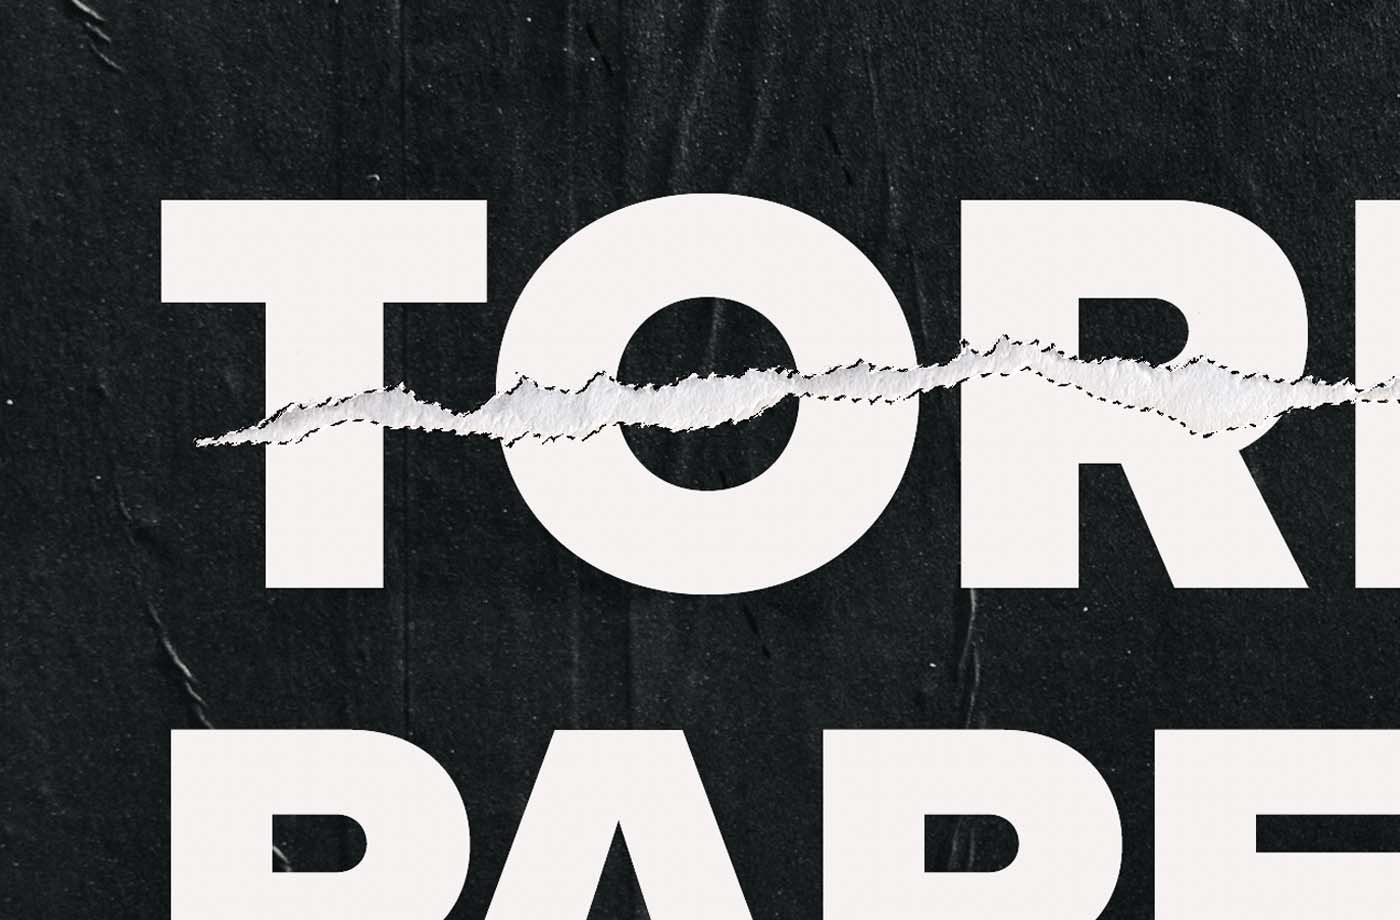
Next, pick one of the included paper rip cliparts, and place it above where you want it. Resize to match the size of the text layer.
Step 4.
Select the paper rip with Cmnd+Click on the layer preview, go to the text layer, and remove the selected area with the Delete button.
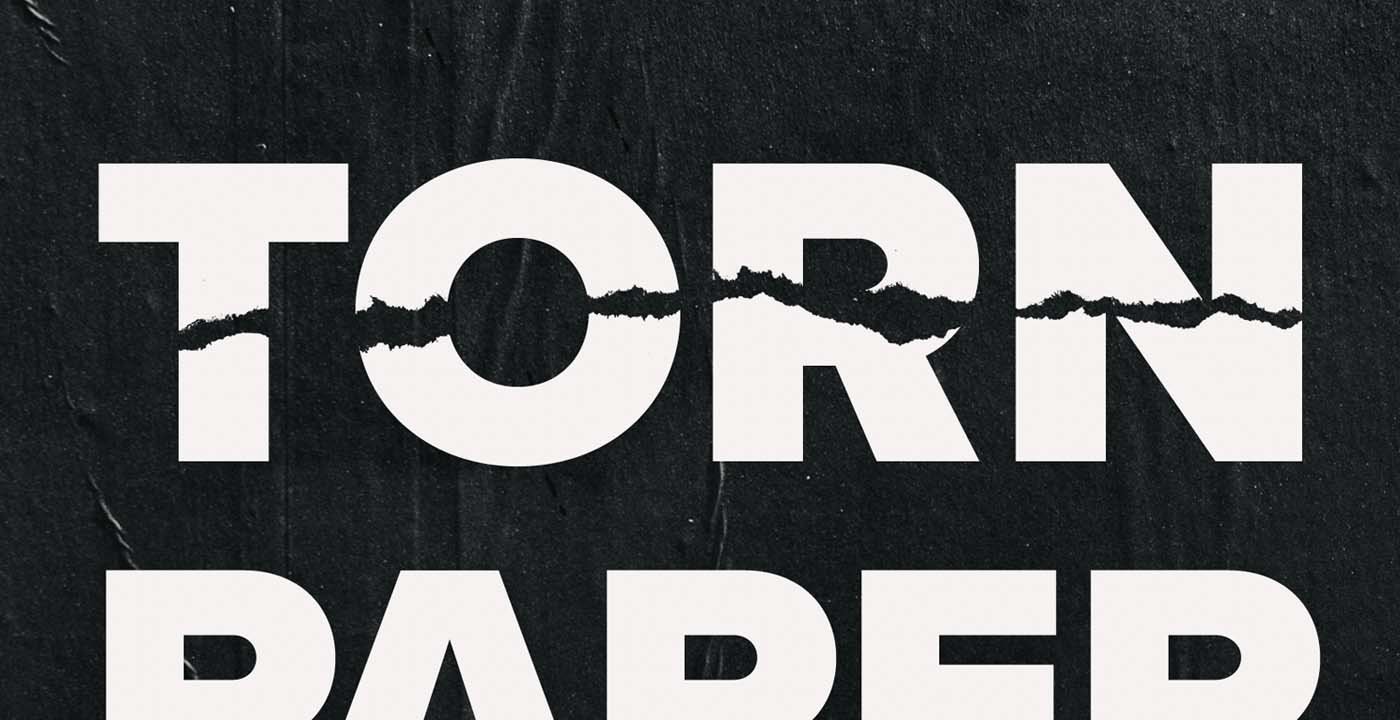
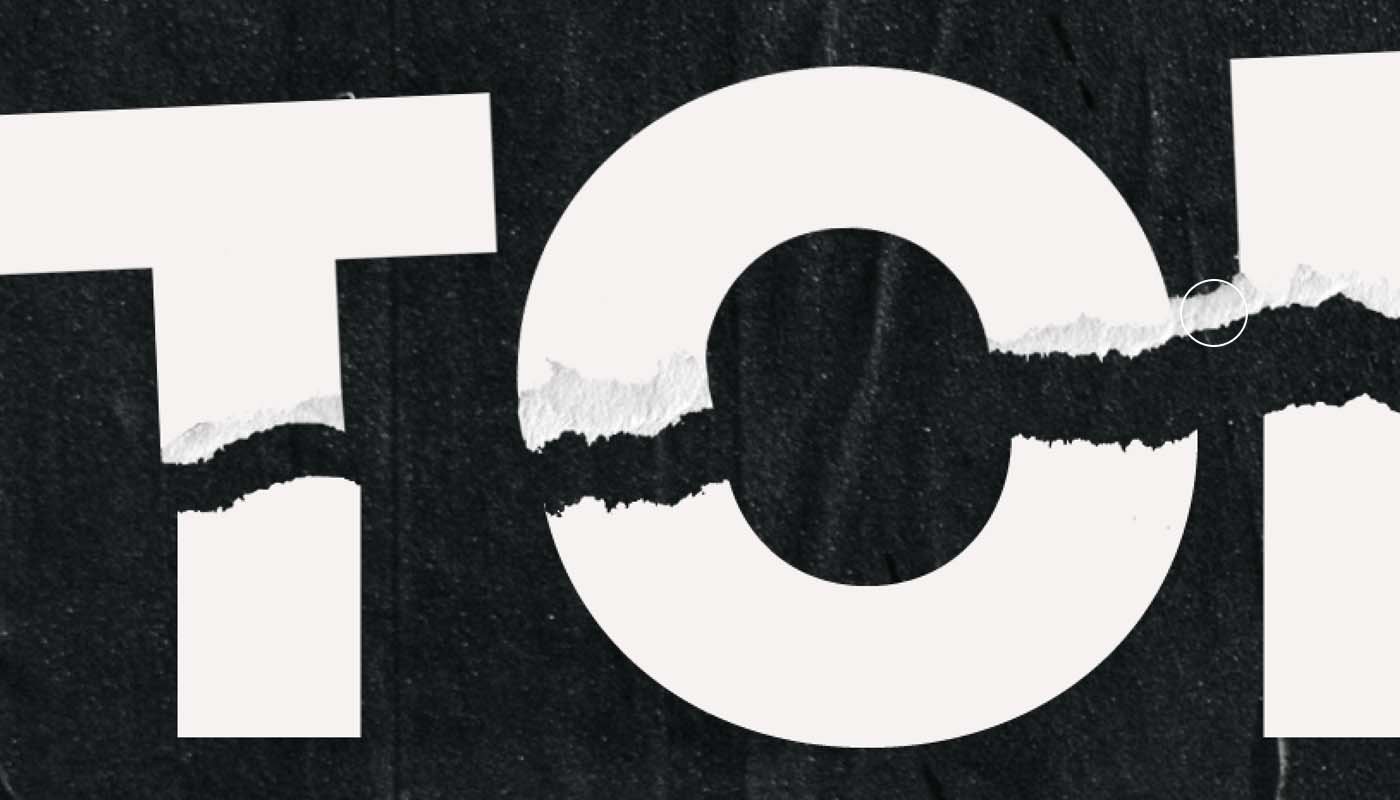
If you disable the paper rip layer, you should see this:
Step 5.
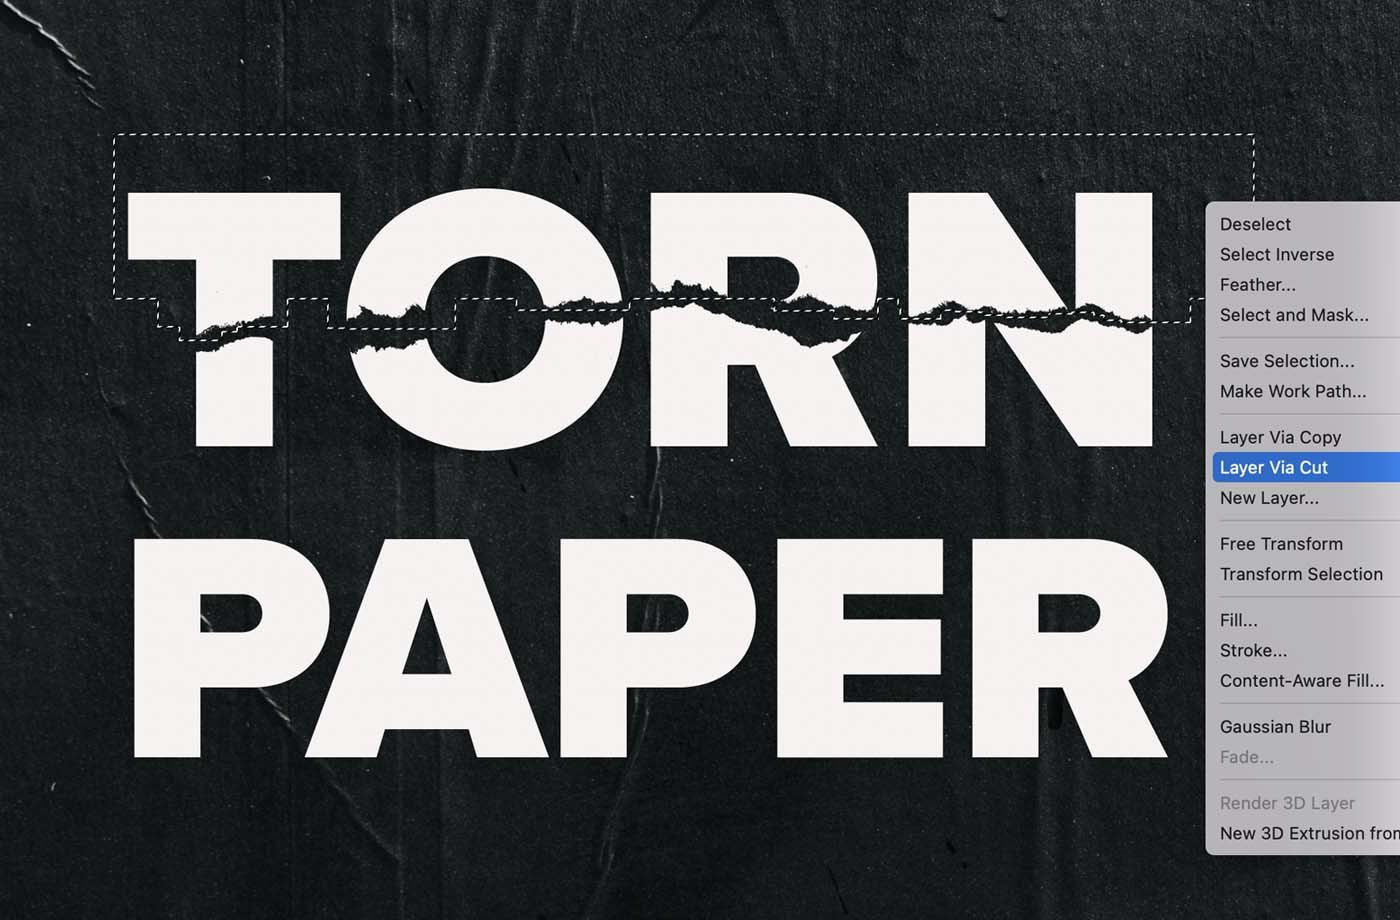
Select the top separated part of the text and cut it to the new layer:
Step 6.
Combine the top part of the text with the paper clipart, move and tilt them a bit to your liking for the final composition:
Step 7.
Finally, erase (E) the excessive parts of the rip:
Step 8.
All there is to do is repeat the process for the second line of our phrase. It won't take long to get the final result:


