How to Cut Out Objects from Photo or Scan in Photoshop

I can't figure a more required Photoshop skill than cutting objects out when we talk about preparing graphics for release. No matter how beautiful and vibrant your brushes, textures or splashes are — you need to get rid of the background they're painted on before shipping. And, seriously, there are tons of techniques and even special apps designed for that purpose. Though, today I will keep it simple like I always do in my ABC tutorials and show you the quickest way to get the proper result.
Step 1
As a source asset to work with, I will use a colorful acrylic splash. You will find a high-resolution (300 dpi) shot of it in the package I attach. Using this technique, you can process not only drawings but any photographed object or a person as well. Also, you can scan your artwork for further cutting out.
Step 2
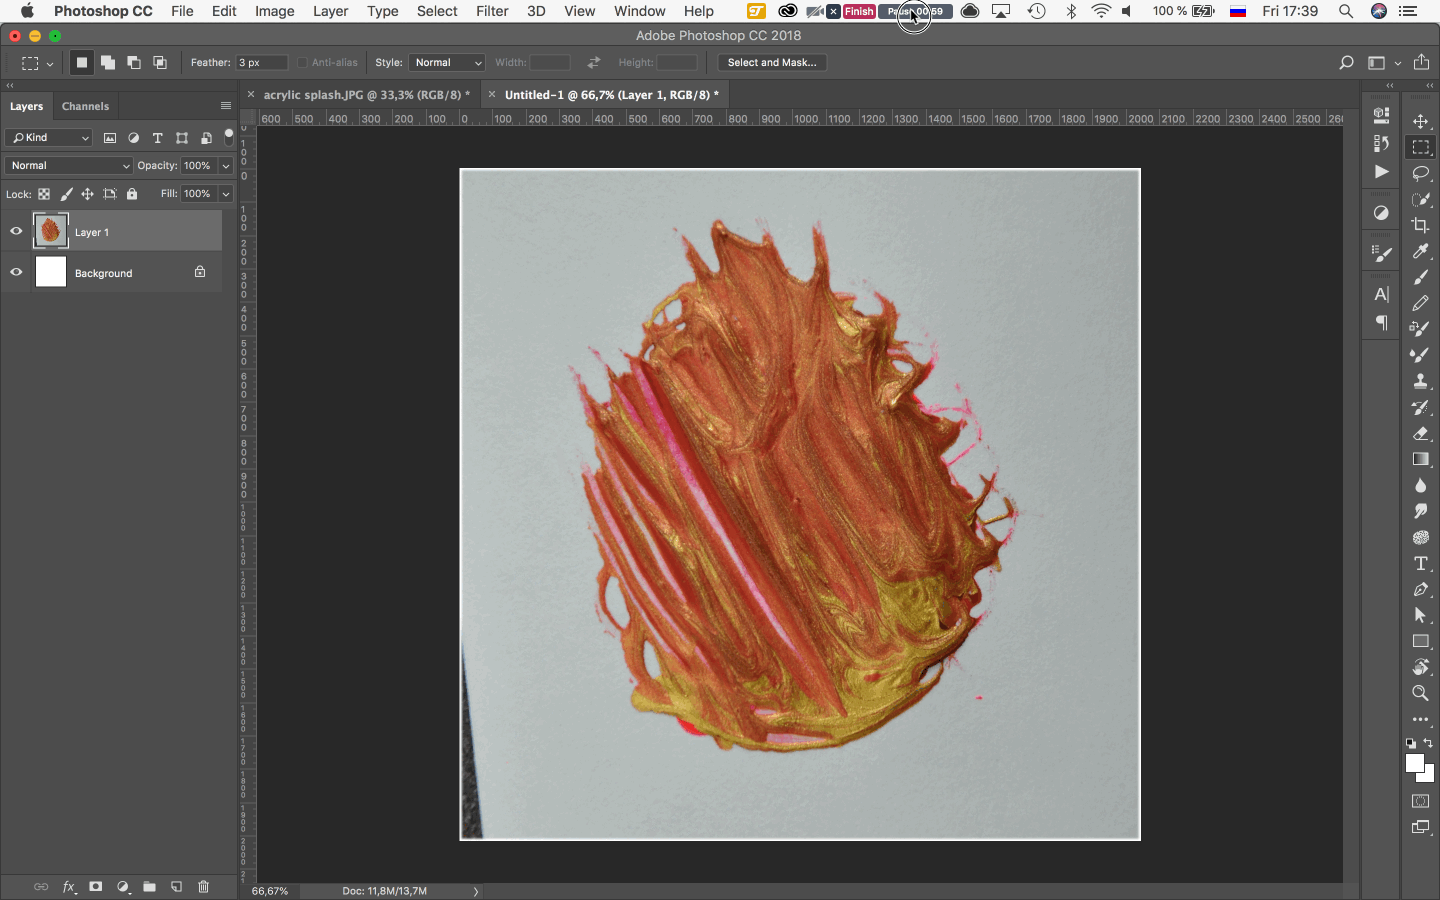
Let's open our shot in Photoshop. Using Rectangular Marquee tool (M) select an area around the splash excluding unwanted background. Copy the selection in the buffer by pressing Cmd+C. Now, create a new document: choose File > New to do that. In a pop-up window, you see that settings for the new document match the selected area by the size. All you have to do now is to press Create. Now paste an area we've copied before to the new document by pressing Cmd+V. Rotate an image for your convenience if you need to (Image > Image Rotation).

Placing an object to the new document
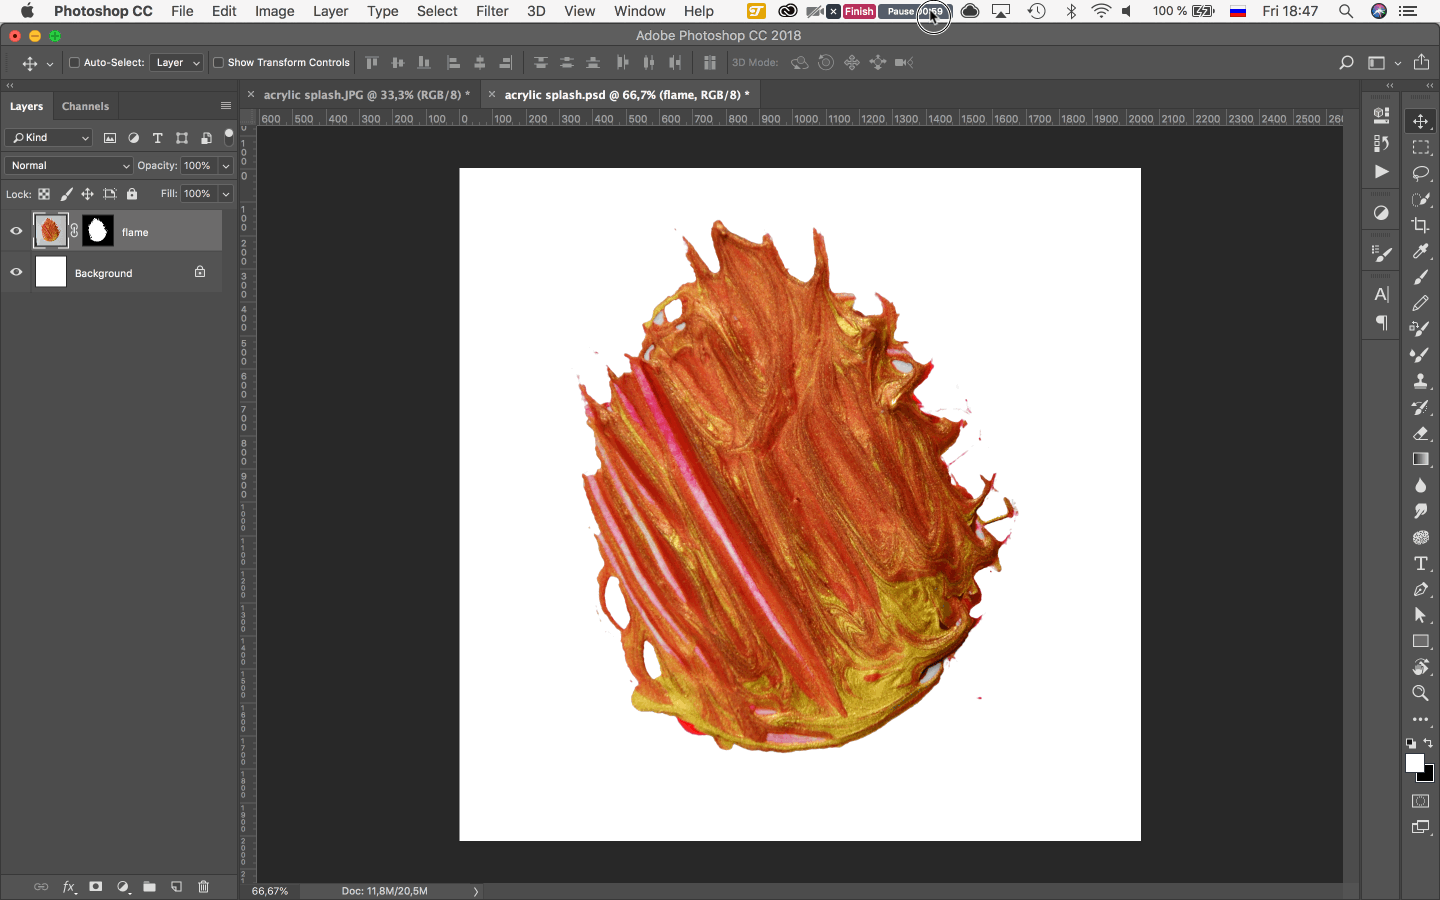
Step 3
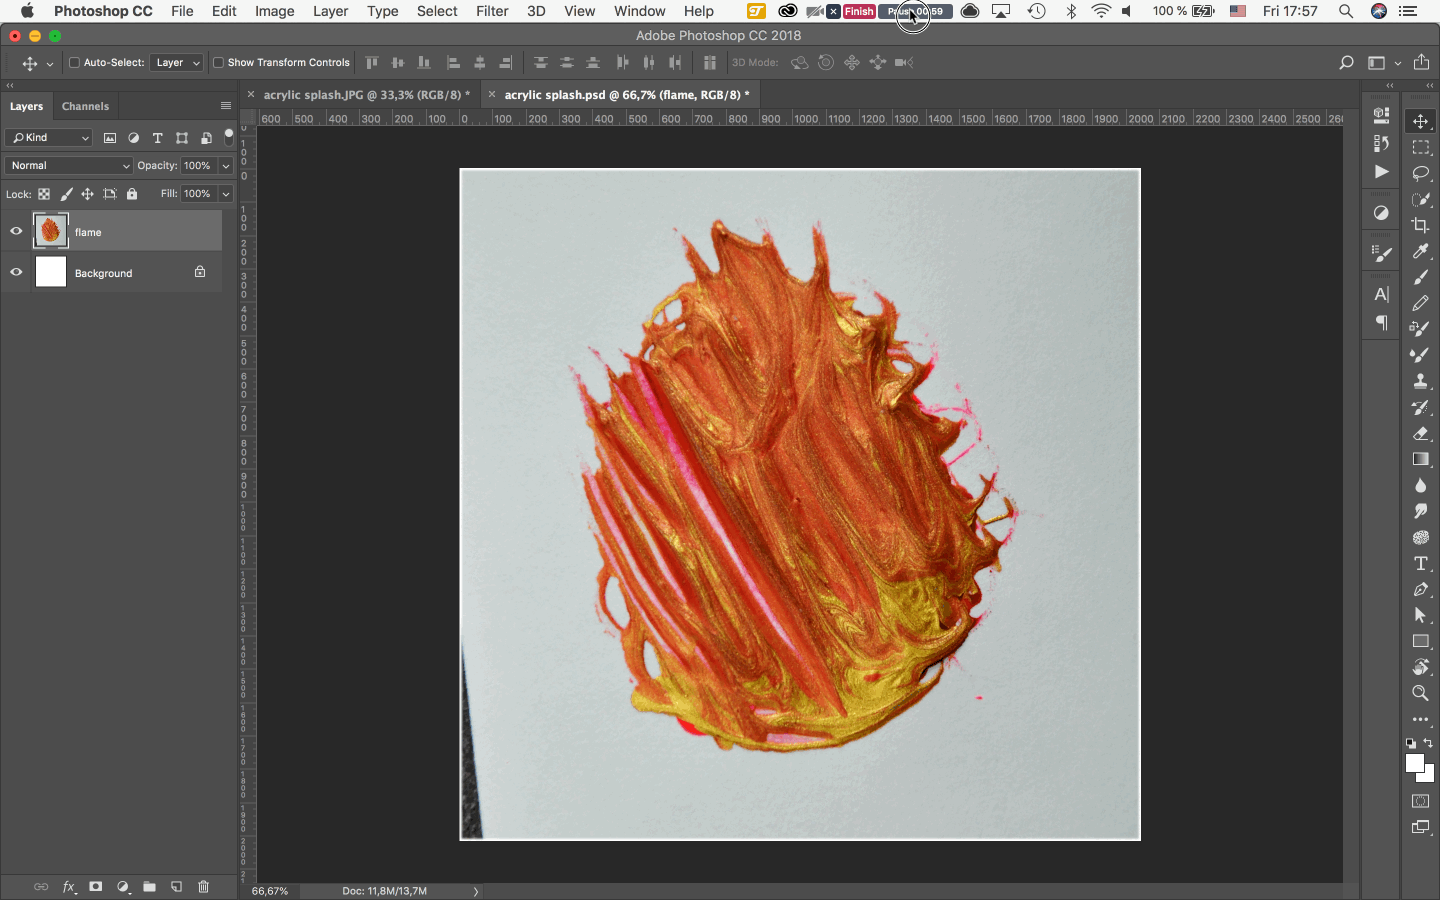
To enhance the source image and adjust its color and brightness, I create a new layer by choosing Layer > New Adjustment Layer and selecting parameters I want to tweak one after another: Brightness and Contrast, Levels, Curves, Hue and Saturation, etc. I recommend creating a new layer for each adjustment. Every time you create a New Adjustment Layer, a window with settings would appear accordingly.
When you're completely satisfied with the image, it's to merge all adjustment layers with original layer. To do that, select all layers in the Layers Panel (Window > Layers) and after a right click of the mouse, pick Merge Layers option in the context menu. Now we have our enhanced image ready for the cut-out.
Enhancing image before cutting the object
Step 4
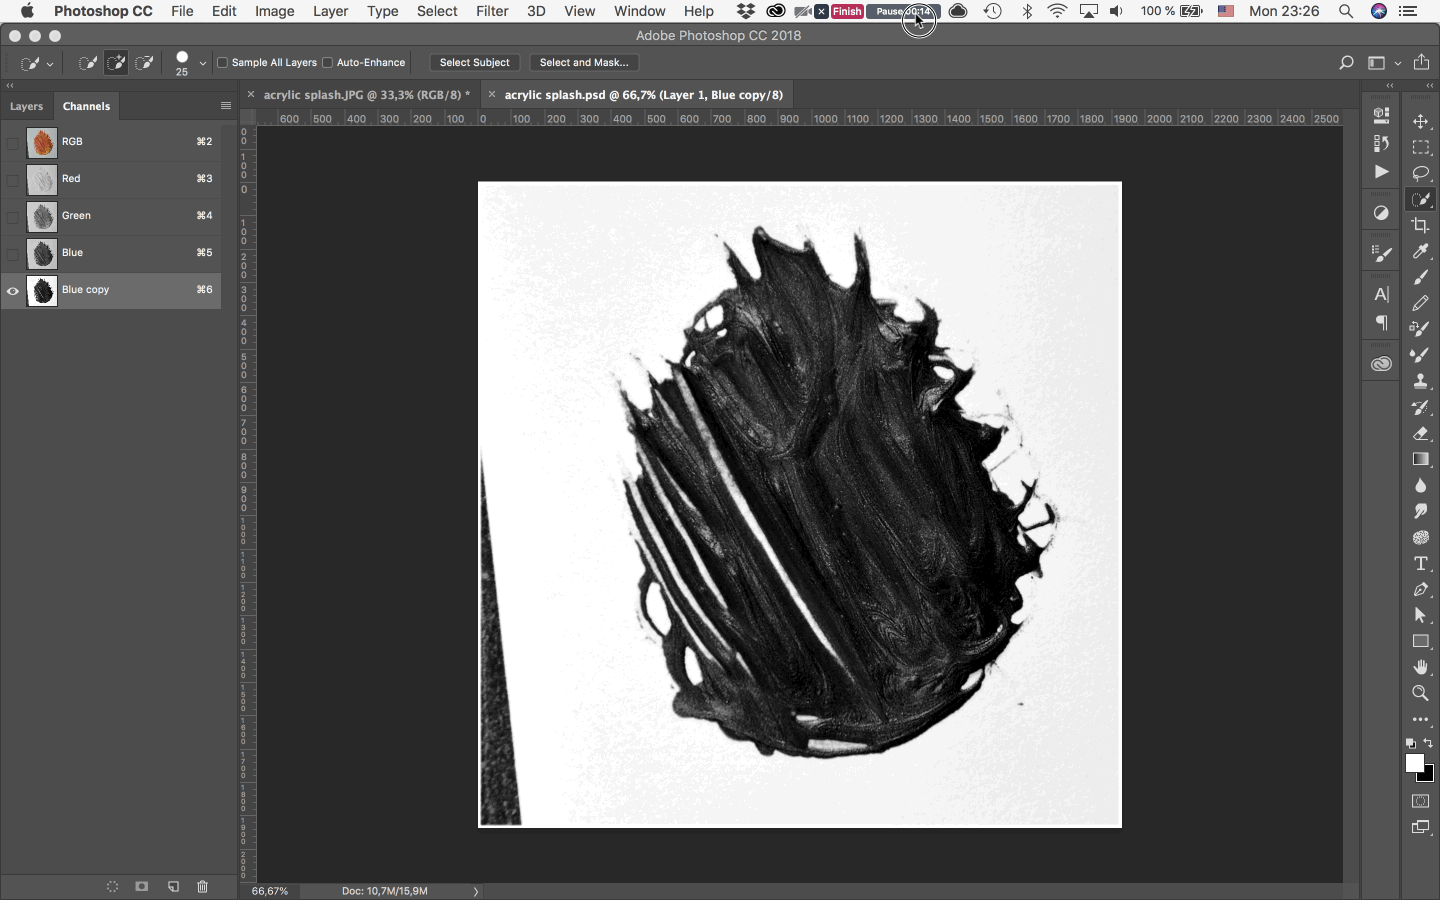
Next, open Channels tab (Window > Channels). Pick the most contrast channel (our splash should look much darker than the background to provide the desired contrast) and duplicate it by dragging to the Create New Channel icon on the bottom bar of the Channels panel.
In the pursuit for higher contrast, I adjust the Blue channel copy with Image > Adjustments > Curves.
Adjusting one of the channels to increase contrast
Step 5
Now, let's get to the selection of our object. To do that, I choose Select > Color Range and set the following parameters in the setting menu:
Select: Sampled Colors
Fuzziness: 141 (It will vary depending on your image)
Selection Preview: Black Matte
If in the result, you have a selection on your background around the object instead, go Select > Inverse:
You may need to edit the selection manually, and Quick Selection Tool (W) will do the work. Choose Add to selection to expand the selection and Subtract to remove the unwanted areas.
Step 6
I see too much of the background inside my selection border, and I fix it with Select > Modify > Contract and setting Sample Radius to 2px. You can quickly expand the edges of your selection by choosing Select > Modify > Expand and setting the proper number of pixels for that. Select > Modify > Smooth will help you to add smoothies to the selection line if it's too chopped to your liking.

Modifying the selection with Contract and Smooth tools
Step 7
Now, when all adjustments to the selection are made I select RGB channel in the Channels Panel to get back to our full-color image. After opening Layers Panel, let's klick on the Add Vector Mask icon.

Adding mask to our image
Step 8
Time to check the result. Select Background layer (it doesn't matter if it's still locked) and fill with black color using the Cmd+Delete command. It will work only if the foreground color (in the Tools panel) is set to black.
I still need to remove (put them under the mask) some white areas I'm not happy with. So I select a layer with an image and the mask, click precisely on the layer thumbnail of the object, choose Eraser Tool (E) and erase those areas. It's easy to change the radius of the eraser on the go with [ and ] keys.
Remove the remaining white areas
Step 9
Finally, we can save our background-free object as PNG or JPG, depending on your further plans. Just turn the background layer off and choose File > Save As. Next, set a name for the file and browse the directory for saving. Choose a format and press Save.
If you save as transparent PNG, for the best quality pick Large file size and press OK:

Saving the artwork as transparent PNG
If you save as JPG, for the best quality set Quality at Maximum (12), and press OK:

Saving the artwork as high-resolution JPG
Conclusion
If after finishing this tutorial you wonder where you can actually apply this technique, I have a few examples for you! Check out one of my most popular freebies, Abstract Acrylic Graphic Pack that was digitized just like it's shown in this tutorial.

Abstract Acrylic Graphic Pack
Acrylic graphics pack including vivid textures, colorful splashes, and of vector shapes.