How to Create Anaglyph Stereo 3D Text Effect in Photoshop

Our set of 3D anaglyph text effects is available in the studio shop, but if you prefer getting to the bottom of it, follow our thorough tutorial and create your unique stereoscopic effect in Adobe Photoshop.
Step 1
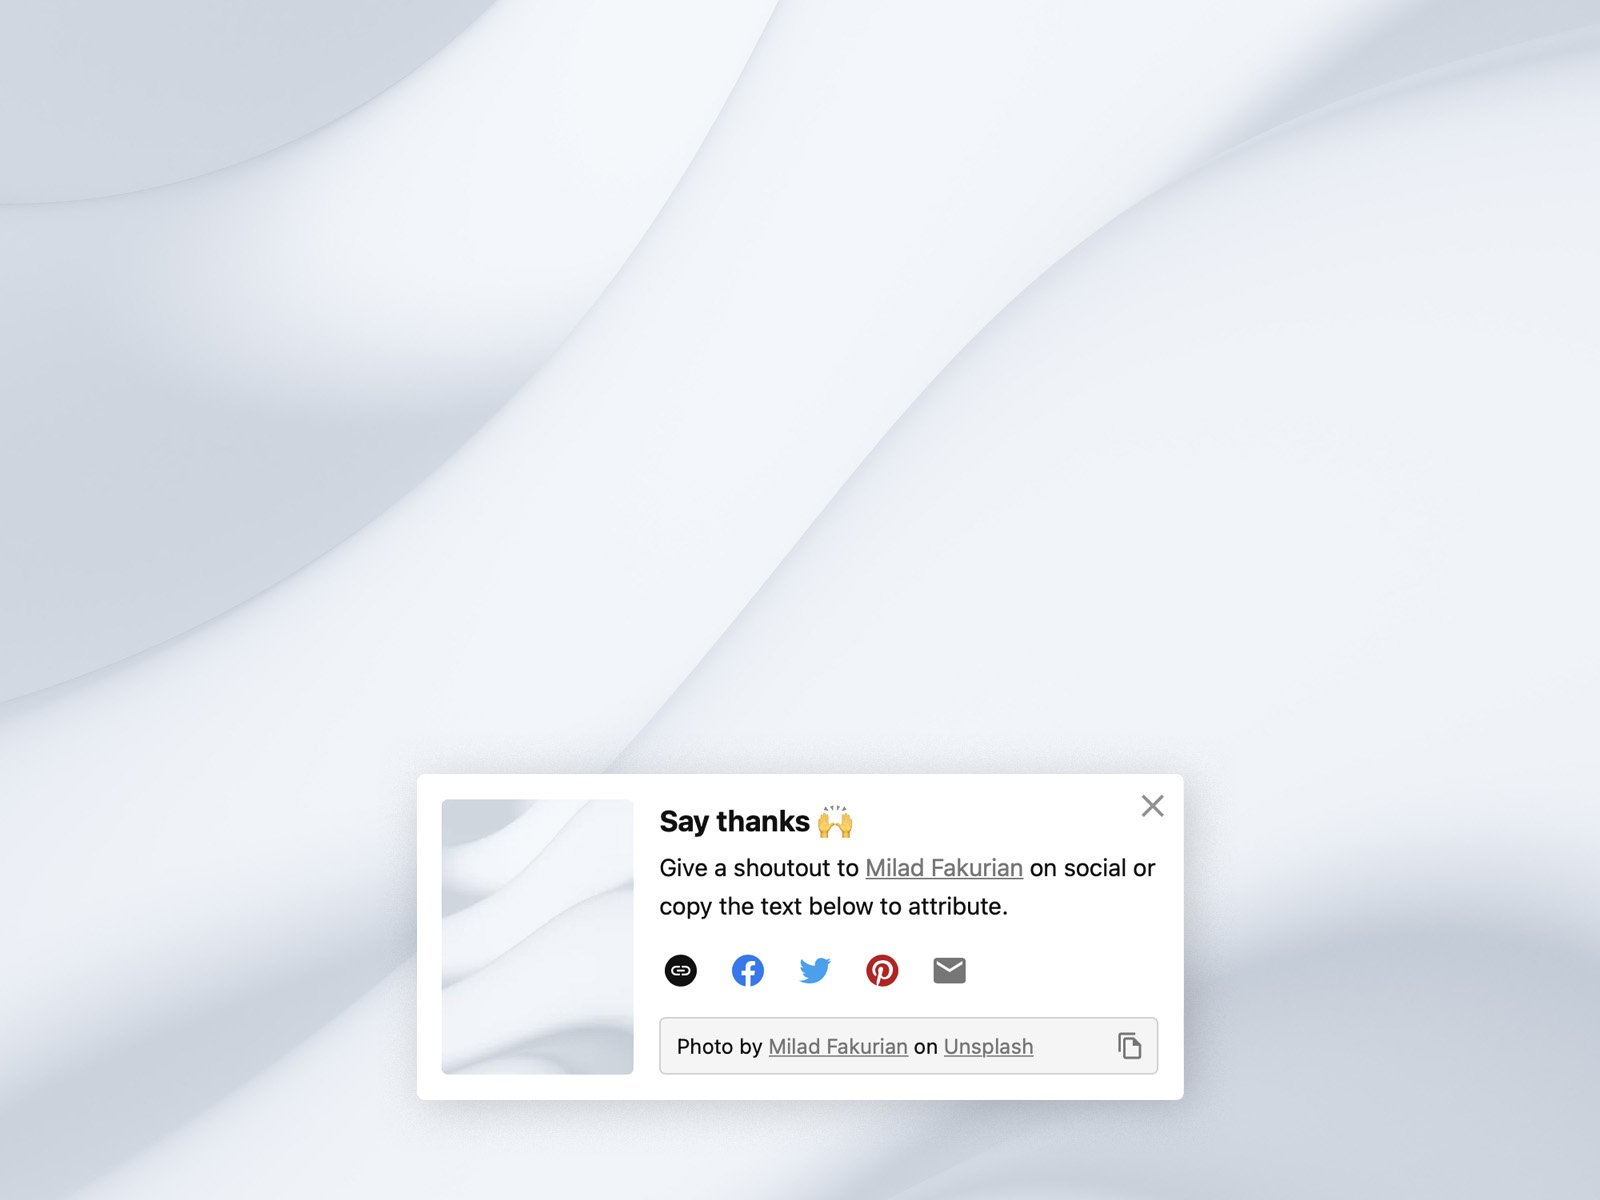
First of all, let’s set a beautiful abstract background to make sure your typography artwork looks as good as possible. I adore this 3d render by Milad Fakurian I found on Unsplash. Crop and tilt a bit, and we’re good to go.
Step 2
Now, it’s time to make another crucial choice — pick a font-face you want to use for the artwork. As I often do, for this effect, I use Proxima Nova available with Adobe Creative Cloud membership, so you can start using it instantly. Then select type tool (T) and type your text to work with.

Step 3
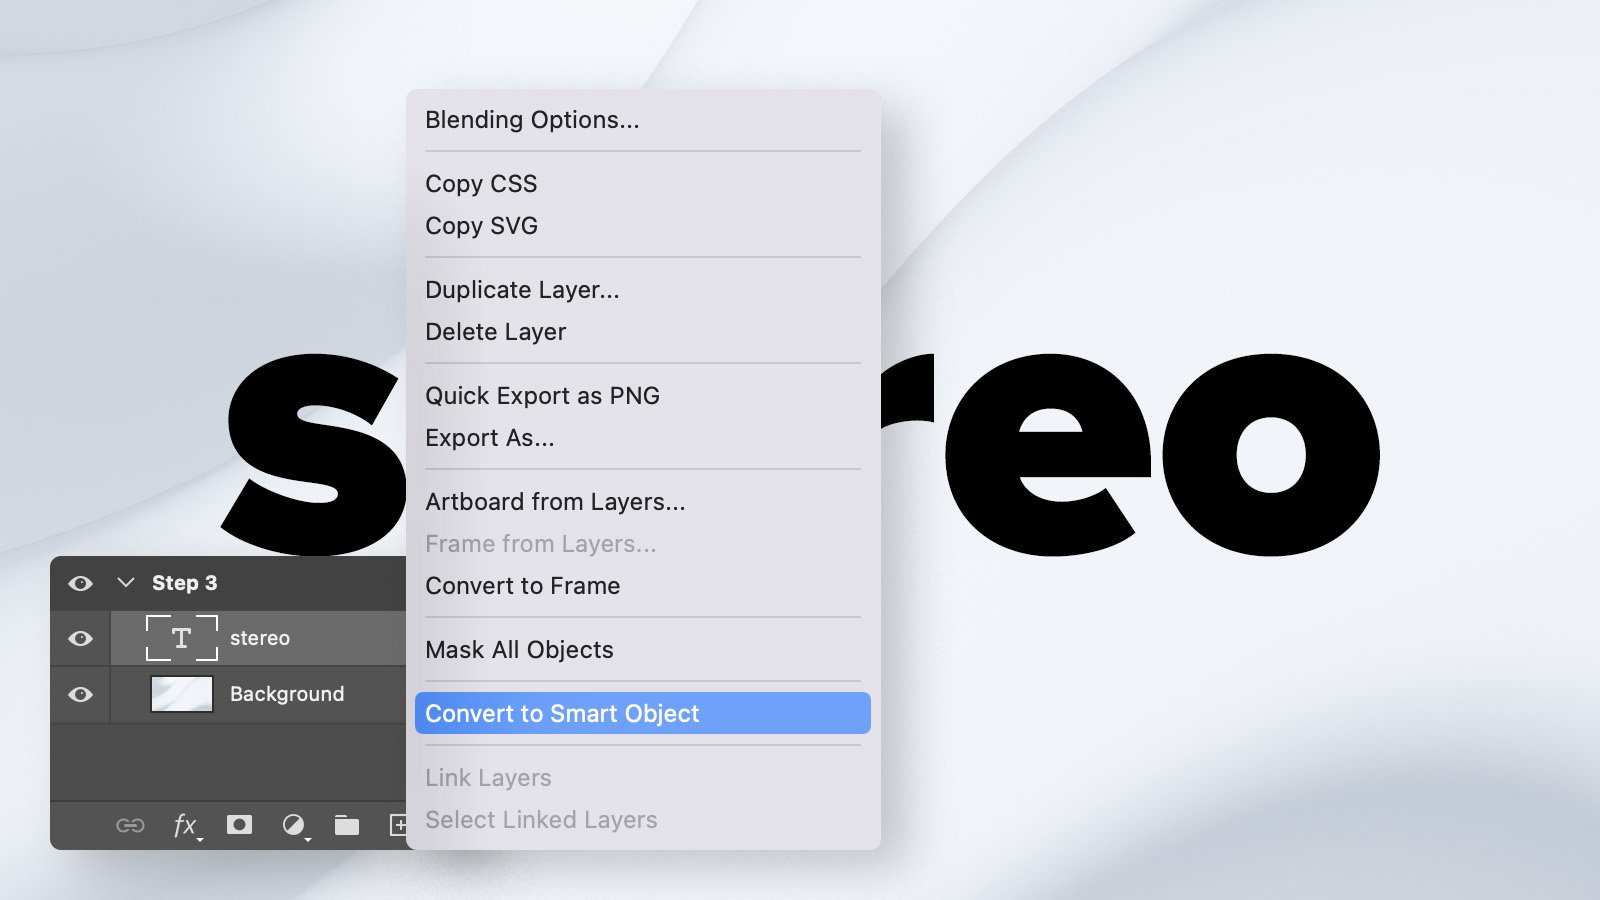
To make this effect non-destructive, we’ll use the Smart Object feature. This means you can always make changes in your initial design, even when the effect is applied. Select your text layer, hit the right mouse button, and click on the Convert to smart object command.
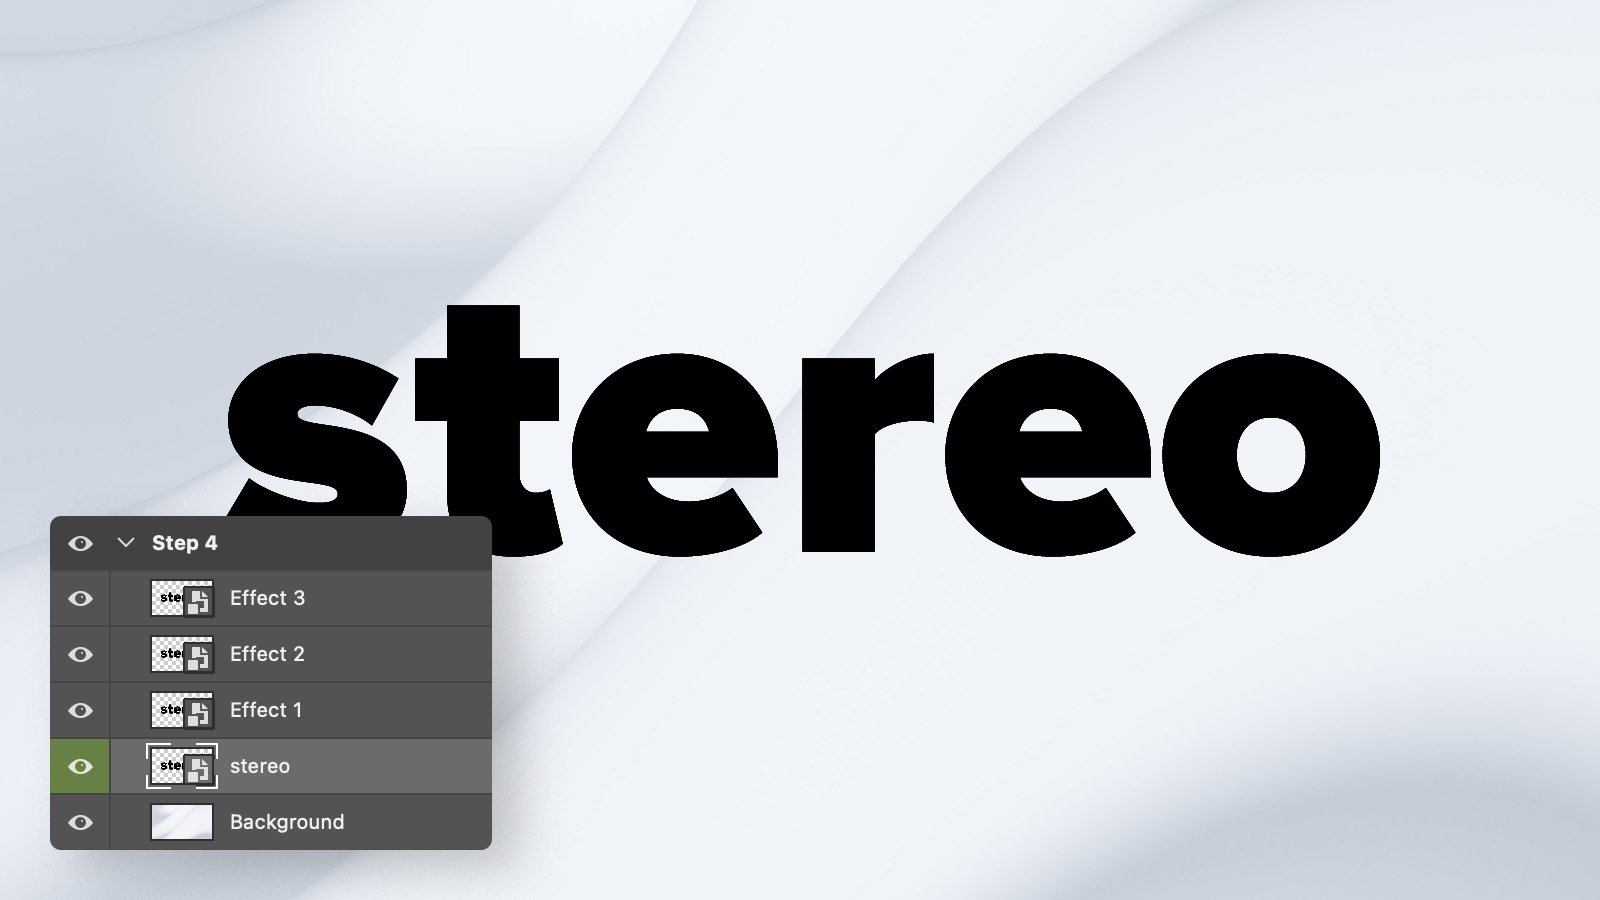
Step 4
What we’ll need next is three copies of the Smart Object layer. You can create them using Cmd+J (Control+J on Windows) shortcut, or an icon on the top of the Layers panel.
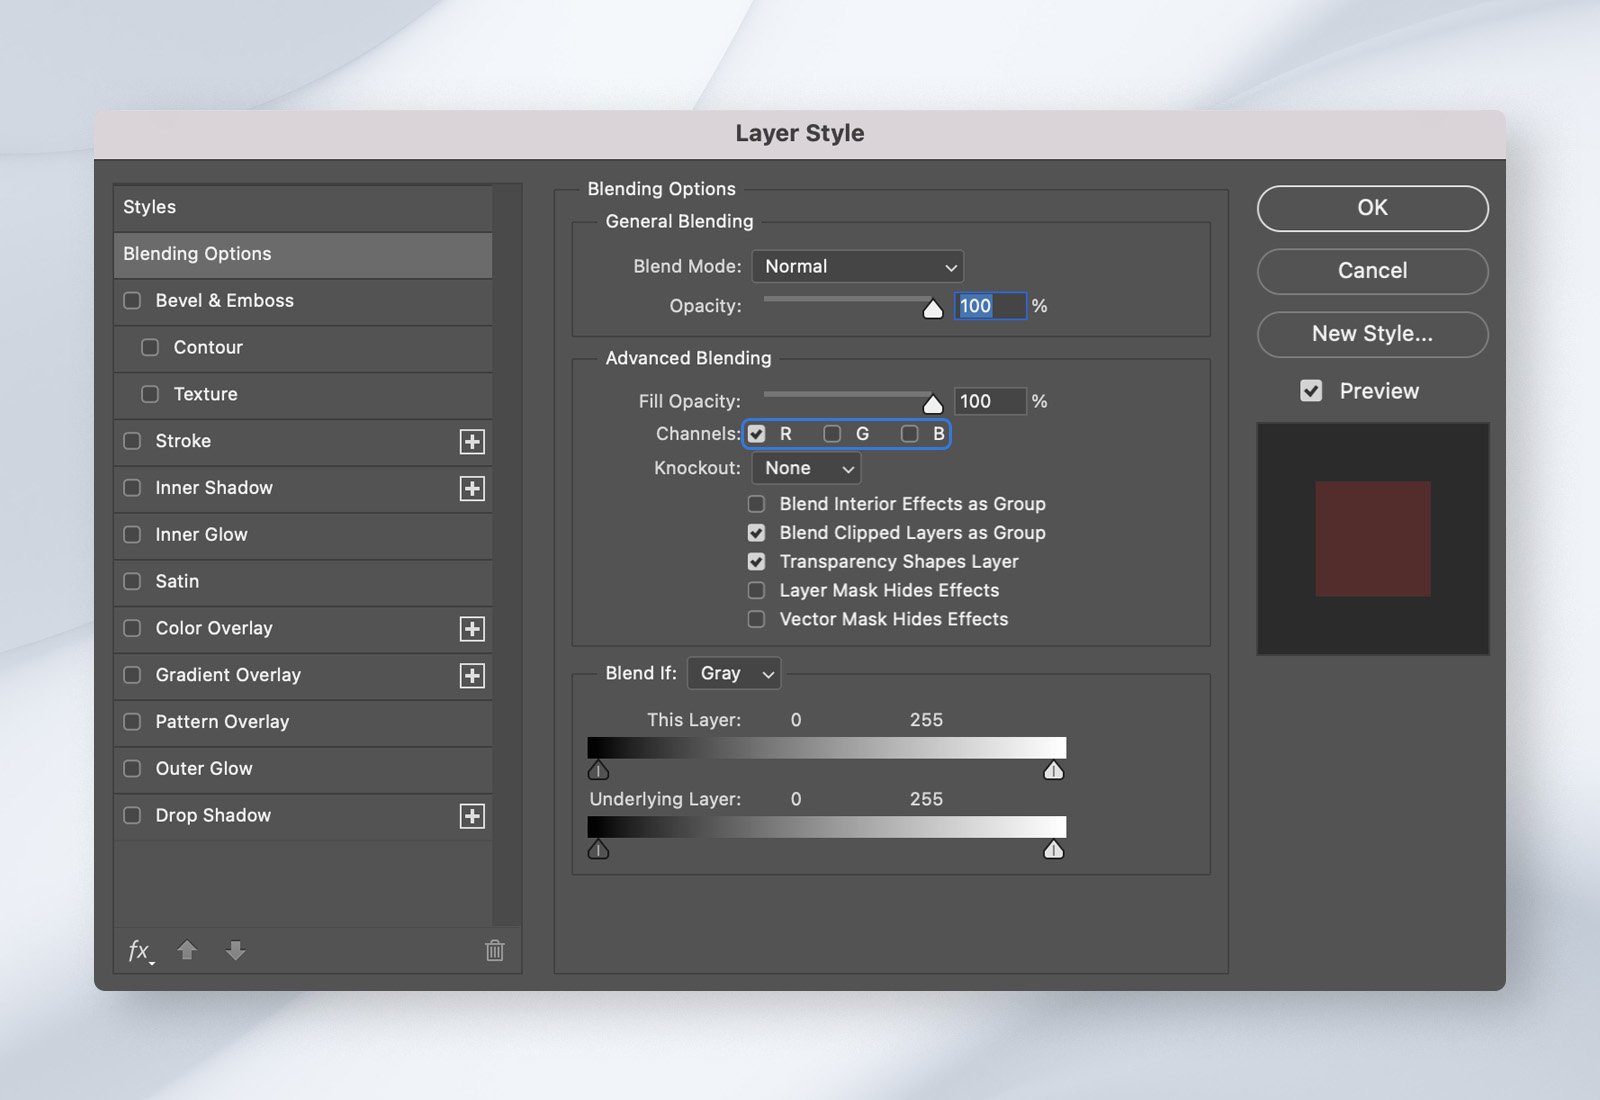
Step 5
We change the Blending Options of these three copies of the initial Smart object layer. Blending options is the default tab of the layer styles panel you can open by hitting the left mouse button twice on the layer. What we do is disable color сhannels, leaving only one of them for each of the three layers — red for the Effect 1 layer, blue for the Effect 2 layer, and green for the Effect 3 layer. For now, we’ll leave the initial layer alone.
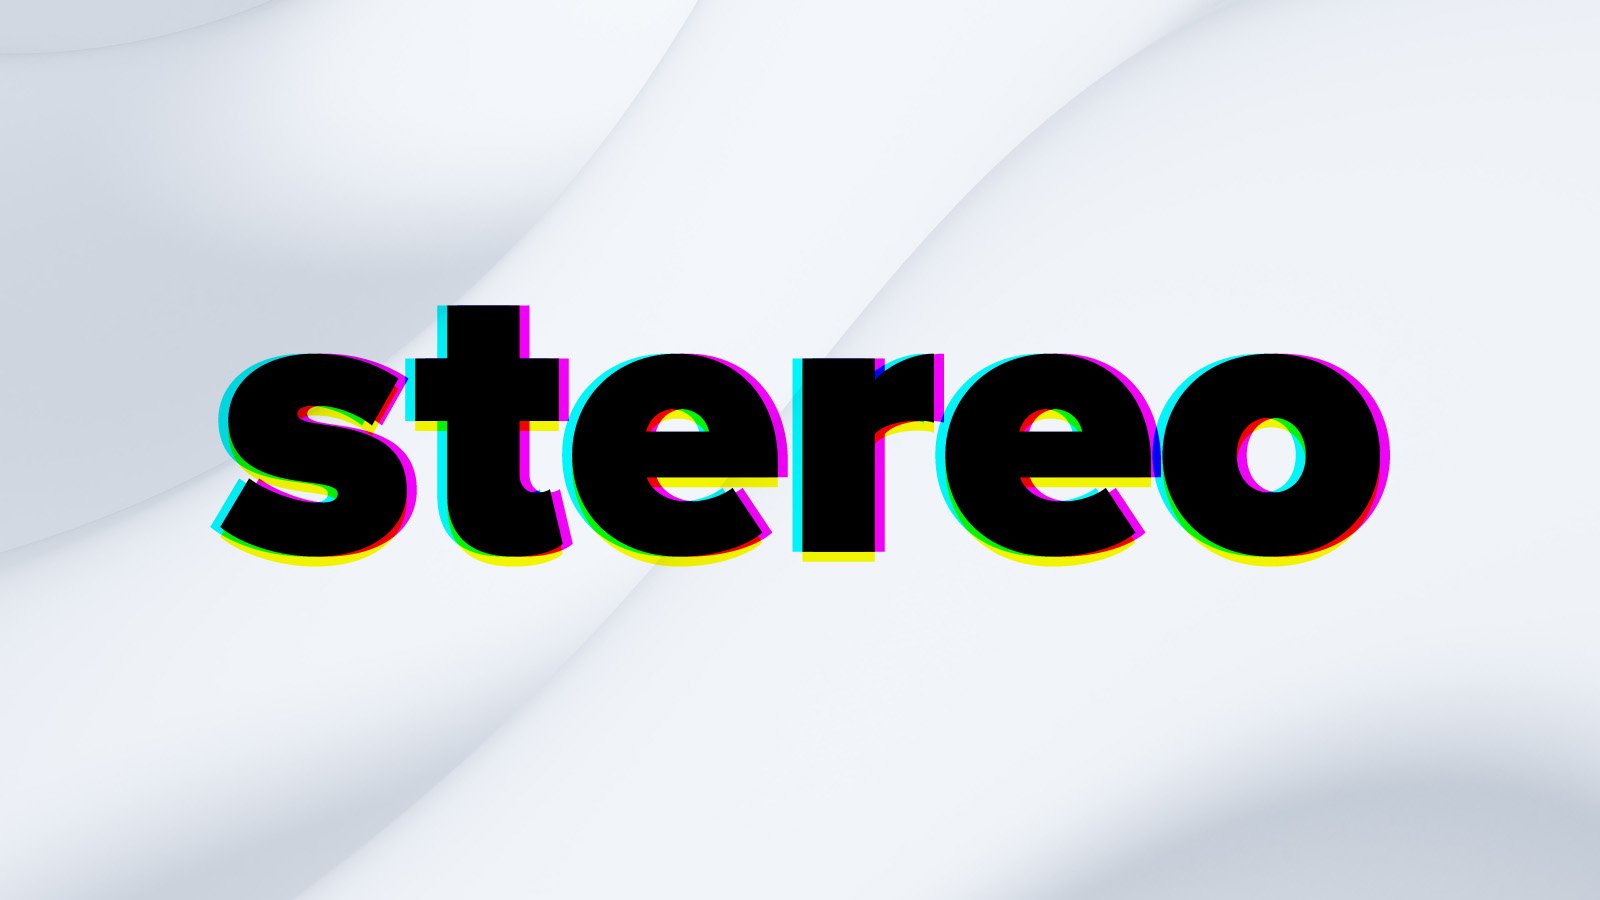
Step 6
Now it’s time for shifting! Move each of these three layers: 10 pixels left for the first one, 10 pixels right for the next one, and 10 pixels down for the last one. At this stage, your artwork should look like this. Scale the number of pixels according to the size of our artwork. Ten pixels could not be enough to make the effect visible if your artwork is much bigger, for example.
Step 7
Nearly there! Our final manipulation with the Effects layer would include Motion blur applying. Go to Filter > Blur > Motion blur option. Set the distance to 40, and the angle to -30 for the Effect 1 layer, 40 for the Effect 2 layer, and 90 for the Effect 3 layer. There is a place for experiments. Adjust both distance and angle parameters to your liking.

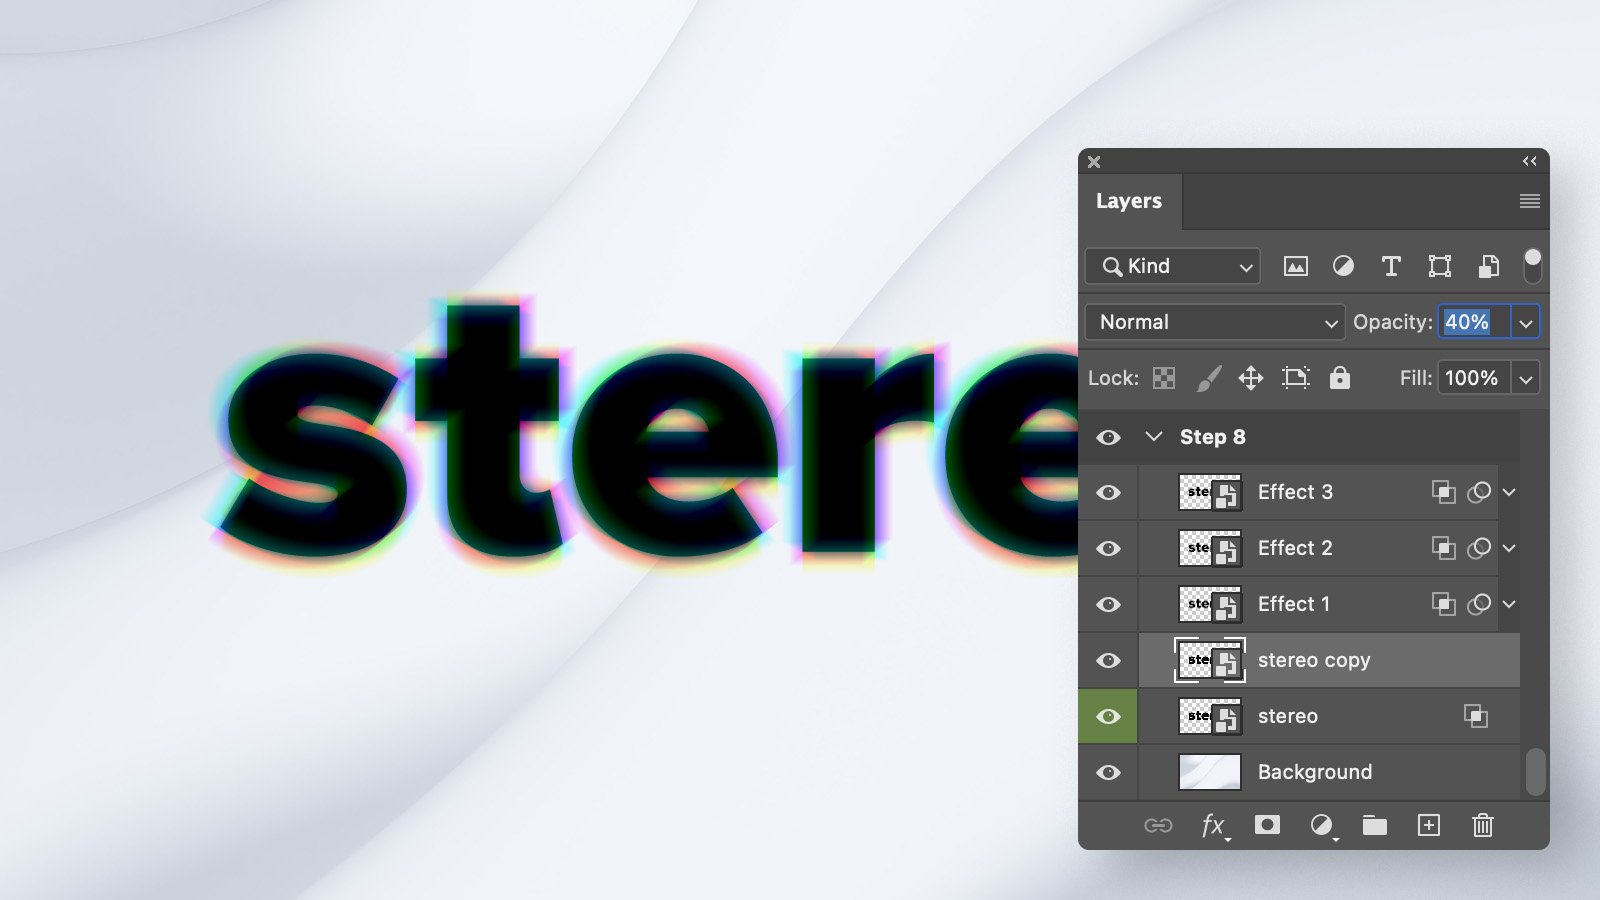
Step 8
We’re pretty much done! Though, here is another completely optional step. Duplicate your initial Smart Object layer and set its opacity to 40%. Go to the initial layer’s blending options, and disable two color channels of your choice.
This final step makes the composition less solid, and adds a layered and more complex look. However, some might prefer to stop on the previous step.
Now, when the effect is complete, you can adjust the text layer by opening the Stereo Smart Object layer and making your changes by saving the inner PSB document.